


  |  | ||
This section explains how to specify a destination using IP-Fax transmission.
When using IP-Fax transmission, specify the IP-Fax destination (IP address, host name, or alias telephone number) in place of the fax number.
![]()
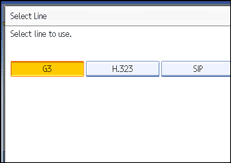
When sending an IP-Fax, select either "SIP" or "H.323" as the protocol.
To display "SIP" and "H.323" on the screen, make the settings in "Initial Settings" in the Facsimile Features menu. If you are using SIP, specify "Enable SIP" and "SIP Settings". If you are using H.323, specify "Enable H.323" and "H.323 Settings". For details about these settings, see "Initial Settings".
Ask your administrator whether you should select "SIP" or "H.323" as the protocol.
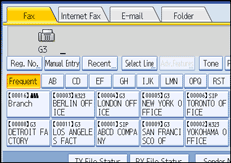
Make sure that [Fax] is selected.
Press [Select Line].
Select the protocol you want to use, and then press [OK].
Press [Manual Entry].
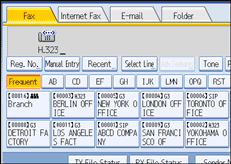
Enter the IP-Fax destination, and then press [OK].
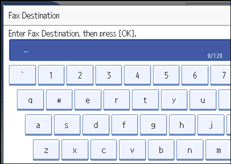
If you enter an incorrect character, press [![]() ], [
], [![]() ], [Backspace], or [Delete All]. Then, re-enter the characters correctly.
], [Backspace], or [Delete All]. Then, re-enter the characters correctly.
To change the IP-Fax destination after pressing [OK], press [Edit Dest.], re-enter an IP-Fax destination, and then press [OK].
To add a destination, press [Add].
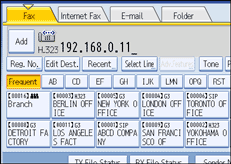
Specify the next destination.
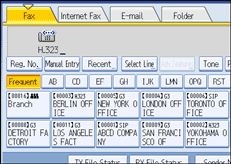
To add another destination, repeat steps 6 and 7.
Press the transmission type tab to switch the transmission type between fax/IP-Fax, Internet Fax, e-mail, and folder.
Press the [Start] key.
The machine starts to scan the original and stores it in memory. When scanning ends, the Communicating indicator lights and transmission starts.
![]()
You can specify H.323 or SIP as the default setting. See "Changing the Default Functions of the Fax's Initial Display".
Depending on the security settings, [Manual Entry] might not appear and you might not be able to enter the IP-Fax destination.
To select a destination from the Address Book, see "Using the Address Book to Specify Destinations".
For a list of gateways (T.38-compliant), gatekeepers, or SIP servers that are certified as operable with this machine, contact your local retail or service representative.
Methods of entering a destination vary depending on the network settings made by the administrator. Ask the machine administrator for details. For details about entering the IP-Fax destination, see "When using a gatekeeper server or SIP server".
For details about text entry, see "Entering Text", About This Machine.
The Facsimile Features menu includes a user parameter setting (switch 17, bit 2) that enables you to configure the machine to force the user to press [Add] whenever s/he specifies a destination using a Destination key. This prevents users accidentally sending documents to the wrong destination. See "Parameter Settings".
If you press [Prg. Dest.], you can register an entered destination in the destination list. For details about storing a destination you entered, see "Registering Entered Destinations to the Address Book".
For the maximum number of digits that can be included in a destination, see "Maximum Values".
![]()